

I’m so excited to share our laundry room renovation with you! Our laundry room doesn’t have a door, and sits right off of our kitchen, so I wanted it to be crisp, clean, and simple. I had come down with the shiplap bug, and decided to teach myself as I went (I used THIS tutorial). I LOVE the final product, and I can tell you this isn’t my last shiplap project!
LAUNDRY ROOM BEFORE


MATERIALS
- 1/4 inch plywood underlayment (8X4 sheet, cut into 6 inch strips)
- I used 4 sheets for a 14 foot X 8 foot wall
- Trim (for ceiling and corners)
- Finishing nails and air nailer
- Sand paper and electric sander
- Level
- Stud finder
- Tape measure
- Miter saw
- Jigsaw
- Nickels and/or pennies (for spacing)
- White paint
STEPS


- For the laundry room shiplap, I used 1/4 inch plywood underlayment from our local lumberyard. The sheets are 8 X 4, and I had them cut it into 6 inch x 8 foot strips for me (you will have one strip that is 5.5 inches because of the blade width), but you can do it yourself if you have a table saw. Before starting, sand the edges of your boards to make the installation go faster.
- Installation: Using a stud finder, mark your studs the whole length of the wall. Cut your first piece of plywood so that you start and end on a stud. Use a level to put your first row up, because chances are your ceiling isn’t level. Put a nail in the top and bottom on each stud. As you add your second row, put the nickels or pennies in between as spacers. We used both, because some of our boards weren’t 100% straight, so mixing it up helped us to keep it level, and you don’t notice the difference in the spacing.
- When you reach an outlet or anything that protrudes the wall, use the jigsaw to cut around it.
- Once your boards are all in place, add your trim to the ceiling and corners. I used flat trim in the corner by the window, but you could also use cove if you prefer that.
- Paint your shiplap. Some people like the wood look, and in that case I would suggest you stain, or at least seal your shiplap with poly. This will help with dust, as well as wear and tear over time.
LAUNDRY ROOM AFTER
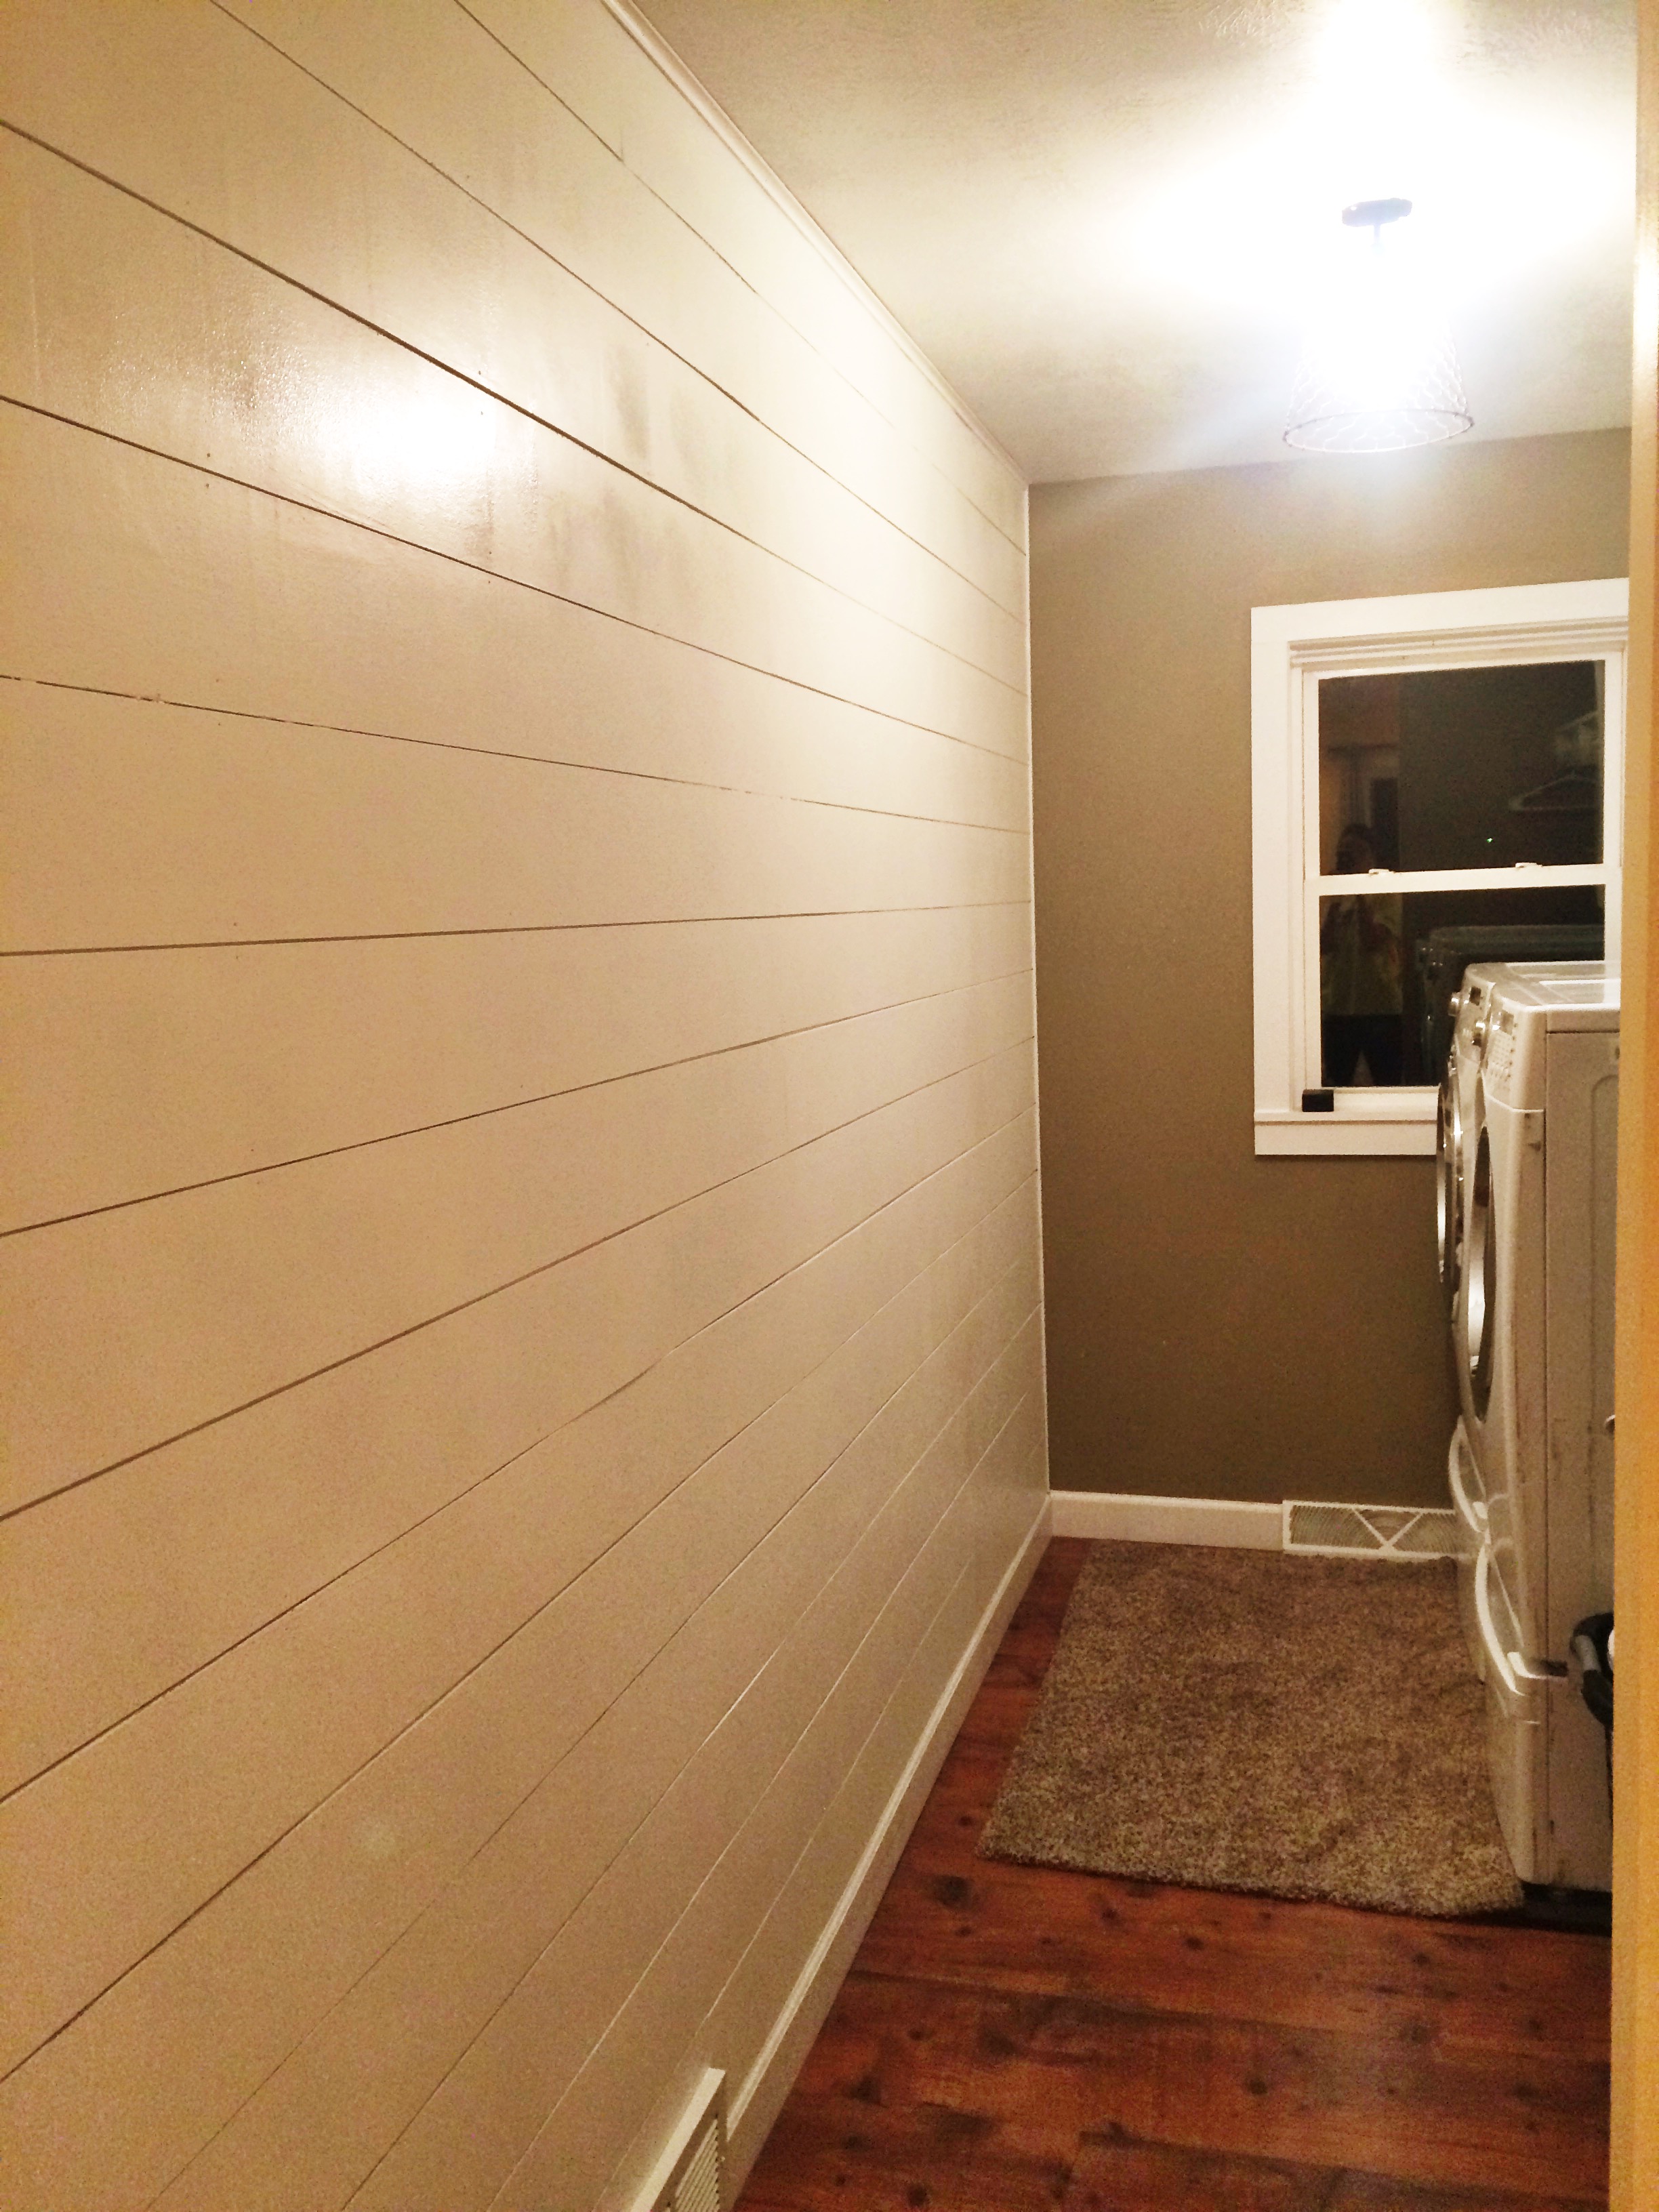
Seriously, I’m still swooning over how this laundry room turned out! I just need to add my wall decor and hang up my blinds in the window and it’s DONE!
WHAT I LEARNED:
- If your wall is bright yellow, paint it first. It took me twice as long to paint the shiplap because I had to really get in the cracks to cover the yellow. A quick coat of paint first, and I think it would have blended a lot better!
- You have to go into studs with the air nailer. Even if it means you end up scrapping some of your underlayment because you’re left with a little piece, don’t try to stretch it and just go into the wall. It will pop out.
- It’s okay if your spaces aren’t perfect. It makes it look rustic.


